Easy Layered Card Idea: Create Depth with Nesting Dies
by Erica Andersson October 2, 2026

Key Takeaways
Simple Meets Stunning: You don't need complex crafting techniques to create high-impact cards—strategic layering and vibrant colors do the heavy lifting.
Easy Color Blocking: Combine Altenew Crafty Necessities Colored Cardstocks with nesting shape dies to build eye-catching dimensional designs in minutes.
Balanced Gold Accents: Elevate your design using Antique Gold Metallic Ink Spray and Brushed Gold Metallic Cardstock for a touch of elegance without overpowering the layout.
Versatile & Customizable: Easily swap colors, shapes, and sentiment stamps to tailor this layout for birthdays, holidays, or any recipient.
Hello Altenew friends and fans! I hope you are ready for some lovely layering inspiration now that the weather is turning cold. While we are talking about cardmaking today, I will take pretty much any opportunity to make layered cards, textures, and sparkle to my handmade projects. I might be a bit of a one-trick pony, but a girl likes what she likes! Layers are truly my jam—both in life and on my paper crafts.

Why Simple Layered Card Making Ideas Work
An idea does not have to be complicated or technically difficult to yield a fabulous end result. In fact, this project is remarkably simple: we are going to create vibrant pops of color using Altenew Crafty Necessities Colored Cardstock paired with a versatile nesting die set.
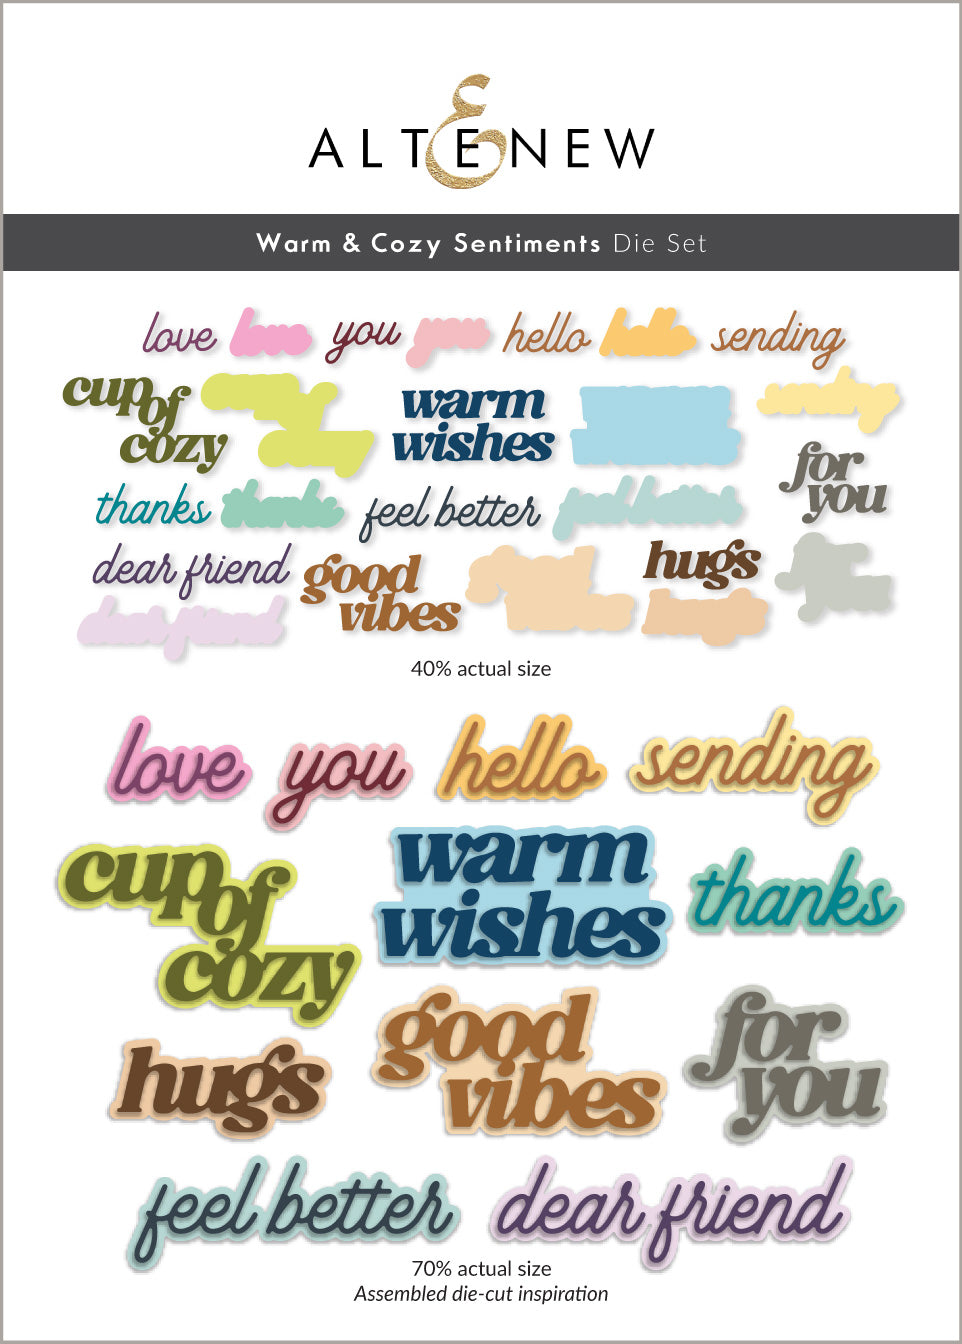
To level up the design, a light splattering of Antique Gold Metallic Ink Spray and subtle accents of Brushed Gold Metallic Cardstock add just the right touch of elegance. We then finish off the card with the real star of the show—the Warm & Cozy Sentiments set—and a few glittering embellishments.
Choosing Color Palettes for DIY Layered Cards
I really enjoy working with teal and turquoise tones. While true blue will always be my absolute favorite, stepping outside your primary creative comfort zone is a great way to push your artistic boundaries. If you tend to reach for the same hues repeatedly, I encourage you to challenge yourself and try a fresh color combination today.
For this card's foundational layers, I wanted a rich gradient transitioning from deep teal to soft mint green. I selected Crafty Necessities Colored Cardstock in Lagoon, Aqualicious, and Dew Drops.
When adding luxury details, you can never go wrong with gold accents. The Antique Gold Metallic Ink Spray and Brushed Gold Metallic Cardstock bring a warm, refined shimmer to card panels. The spray offers exceptional value for money—a single bottle lasts for years and delivers a fine, elegant splatter every time.


Step-by-Step: How to Build Layered Card Designs
To build the primary focal point, gather your nesting arch die cuts. For this specific layout, skip every other size in the set during die-cutting. Skipping sizes creates a wider border reveal for each shade, allowing every layer of color to shine through clearly.

1. Splatter the Card Base
Start by splattering your white card base with Antique Gold Metallic Ink Spray. Set it aside to dry completely while you prepare your cardstock cuts.
2. Test and Adjust Your Palette
Don't be afraid to modify your design midway through! In the original plan for this card, a shade of yellow was in the mix. During the assembly phase, the yellow felt off, so it was set aside. Cardmaking is an interactive process—you are never locked into your initial layout.
3. Alternate Adhesives for Dimension
To build height without creating unnecessary bulk, alternate your adhesives between layers:
Flat Layers: Use ClearFix Glue directly on the cardstock.
Raised Layers: Use Instant Dimension Foam Tape on alternating arches.
Mixing flat and dimensional adhesives ensures your card retains structural balance and can easily stand upright on display without tipping over under its own weight.

Tips for Customizing & Mailing Dimensional Cards
One of the best qualities of nesting shape dies is their sheer versatility. You can adapt this exact layout for any season or occasion:
Pink & Glamour: Swap the teal cardstock for soft pinks, layer with Smoky Quartz or Moonstone Glitter Cardstock, and accent with gem embellishments.
Beginner-Friendly Crafting: This project requires no advanced techniques—like alcohol marker shading or intricate ink blending—making it an ideal beginner cardmaking tutorial for new crafters.
Mailing Tip: If you plan to send a heavy multi-layered card through standard post, replace the foam tape with flat ClearFix Glue on all layers. Ultra-dimensional cards featuring foam tape and heavy embellishments are best reserved for hand delivery or padded envelopes!

Summary & Quick Crafting Tips
Color Contrast: Stack contrasting cardstock shades using nesting dies to achieve instant depth in minimal time.
Metallic Highlights: Incorporate metallic or glitter cardstock accents to introduce elegance and visual contrast.
Endless Adaptability: Customize your color scheme and sentiments to suit any recipient or holiday.

Whether you are looking to make quick holiday cards or explore new color blocking ideas, strategic layering is a foolproof technique to make your designs stand out. Watch the accompanying video tutorial to see the full assembly process step-by-step!
Thank you for spending time crafting with me today! I hope this project inspires you to cut into your cardstock stash and build your own layered masterpieces.
With love, light, creativity, and sparkle,
Erica (Your layer-loving gal)
|