Clean and Simple Card Making with Texture & Hot Foil Accents
by Agnieszka Malyszek September 24, 2026

Key Takeaways
- Balance White Space: A clean and simple (CAS) design doesn't mean flat; texture adds dimension while keeping the layout uncluttered.
Layer Subtle Textures: Combining a press plate hot-foiled background with a 3D embossed die-cut creates subtle contrast.
Incorporate Foiling for Depth: Champagne mirror foil catches the light to add an elegant shimmer without adding visual weight.
Use Foam Tape for Elevation: Raising layers with high-density foam tape creates natural shadow lines that define monochromatic panels.
Hello, craft friends! Aga here, and today I’m sharing a clean and simple card with a dimensional twist. While I love keeping my designs in a clean and simple style and leaving plenty of open white space, I also enjoy adding subtle layers and rich textures to give my projects extra depth and visual interest.
For today’s project, I kept the color palette elegant and monochromatic. By maintaining a clean and simple composition, I allowed the interaction between different textures, cardstock finishes, and focal layers to do the heavy lifting. I also incorporated a soft touch of shine using a hot-foiled background, adding a radiant shimmer without overpowering the clean and simple layout.

Key Techniques for Clean and Simple Card Making
To build a clean and simple card that feels rich rather than sparse, focus on tactile elements rather than complex color schemes.
1. Foiling the Canvas Impression Background
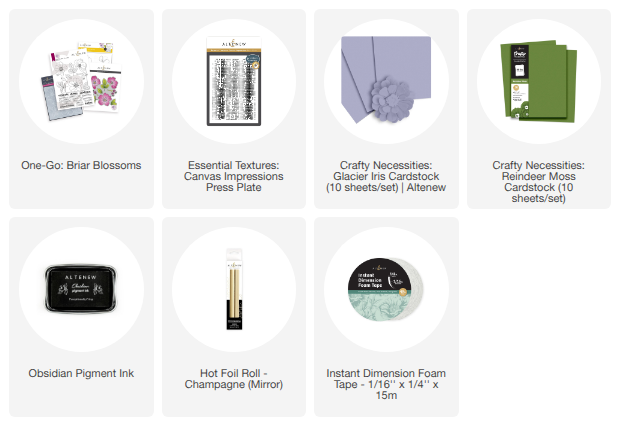
To begin, I focused on creating an eye-catching yet unobtrusive background. Using the Essential Textures: Canvas Impressions Press Plate combined with Champagne (Mirror) Hot Foil Roll, I foiled a soft canvas pattern directly onto my card panel. Hot foiling is a fantastic way to introduce intricate texture to a clean and simple card because the metallic sheen catches the light as the card moves, introducing movement without cluttering your clean and simple design. Once the foiling process was complete, I trimmed the panel to size and secured it firmly onto an A2 card base.
2. Layering 3D Embossed Floral Elements
For the central focal assembly on this clean and simple project, I wanted to introduce organic texture alongside structured color blocking:
Embossing & Die Cutting: I embossed a piece of white cardstock using the One-Go: Briar Blossoms 3D Embossing Folder to create rich relief. I then cut out the detailed floral images using the coordinating die for a clean and simple silhouette.
Color Blocking: To frame the embossed florals while maintaining a clean and simple aesthetic, I cut two rectangular panels from Crafty Necessities Cardstock in Glacier Iris and Reindeer Moss. These muted, earthy tones complement the champagne foil background perfectly.
Building Height: I layered the die-cut floral element over the colored cardstock panels, securing the entire cluster with Instant Dimension Foam Tape. Mounting this layer on foam tape lifts it off the background, casting natural soft shadows that suit a clean and simple concept.

Stamping the Sentiment on a Clean and Simple Layout
To complete the design, I kept the sentiment strip structured and clean and simple:
I stamped a bold, crisp sentiment onto a narrow strip of smooth white cardstock using black ink.
Using additional foam tape, I mounted the sentiment strip across the lower section of the embossed floral cluster. Allowing the sentiment to float slightly above the dimensional background gives the card an architectural, multi-layered feel.
The contrast between the delicate canvas background texture, the sculptural 3D embossed flowers, and the high-shine champagne mirror foil creates an intriguing tactile experience on a clean and simple layout.

Final Thoughts on Minimalist Cardmaking
I’m thrilled with how these elements came together to create a clean and simple design that feels refined, elegant, and modern. Combining subtle textures with strategic focal elevation proves that a clean and simple card never has to feel flat or plain!
Thank you so much for stopping by the blog today. I hope this project inspires you to try mixing press plates, 3D embossing folders, and hot foil on your next handmade card!
Supply List